Formation Ratio Calculator: Quick Start
FRC is used to build a complete battle timeline: configure the Fiend and teams, arrange both sides' actions for each Round, and compare each character's damage, gear ratios, and total team damage. You do not need to learn how to manually create every Fiend skill before using it for the first time.
Tool page: Open Formation Ratio Calculator
Confirm Your Access Mode
| Mode | Where you can start |
|---|---|
| Demo (not signed in / regular user) | Use three fixed teams to try a timeline, modify the Fiend and environment, and experience the calculation; you cannot freely add or remove teams, replace members, or edit the fixed team configuration, and you cannot use personal saves or import/share features. |
| Basic | Freely create teams and timelines, use regular gear optimization, allocate GearPicker inventory, load personal records, save locally, and exchange settings through FRC JSON / share codes. |
| Premium (shown as Pro on the page) | Everything in Basic, plus official Fiend templates, automatic Fiend skill selection, Survival Priority, and normal formation template import/export collaboration. |
Shortest Workflow
1. Choose How to Start
- Just want to try it first: Demo already has fixed teams and an initial environment. Start by editing ally actions in a Round; you do not need to create your own character data first.
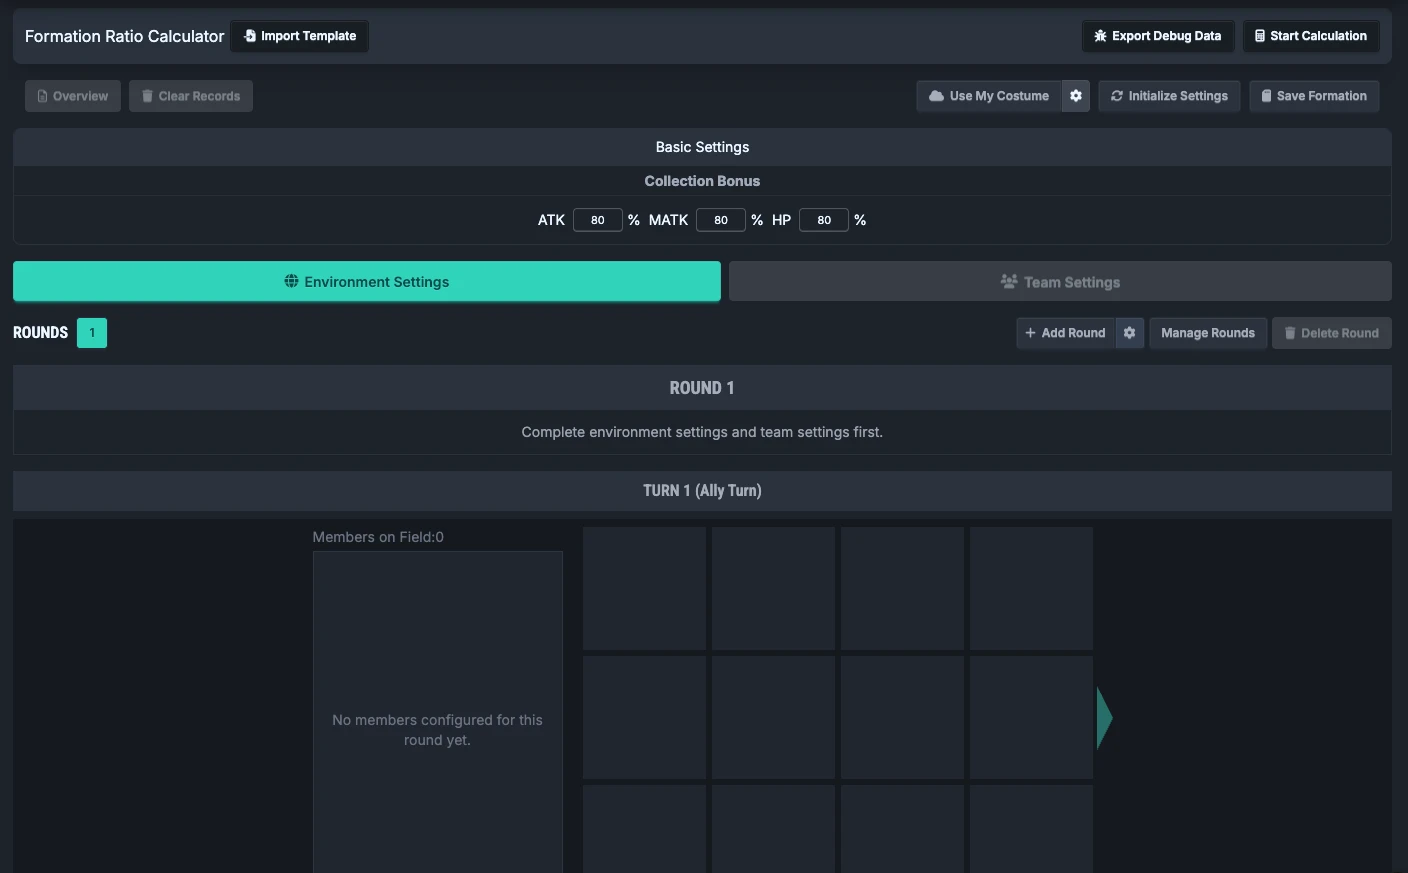
- Start manually (Basic / Premium): Open "Environment Settings", mark attackable parts, configure Fiend stats, head position, weak points, and SP, then click "Confirm"; next open "Team Settings" and add characters.
- Start with an official template (Premium): In normal mode, open "Use Fiend Template" from "Environment Settings", verify the Fiend and level, read the overwrite warning, and apply it. Then create a team or continue with an existing team. See Environment and Teams for the complete steps.
2. Build One Complete Round
- Specify the team used by this Round.
- In the Ally Turn, drag to arrange action order, then click a character action card to configure the costume skill, burst, and range; in an editable workspace, also confirm positions.
- In the Fiend Turn, choose a skill and check the hit preview and ending mode.
- When starting manually, create the required Fiend Skills first; after applying an official template with the required access, you can enable automatic skill selection.
- Add or copy Rounds, then use "Manage Rounds" to check SP, cooldowns, and team rotation.
3. Calculate and Trace Results Back
Click "Start Calculation", then choose regular optimization or custom final stats for each member. To allocate the actual gear you own, enable GearPicker Mode; "Auto final stats" is available only in that mode.
After calculating, open "Overview" to compare total damage and character reports, and check the death warnings. A damage result does not mean that the timeline can necessarily be completed in-game: cooldown violations do not block calculation, and death warnings do not automatically remove later damage. See Calculation Settings and Results.
4. Keep or Exchange Settings
Basic / Premium can use "Save Formation" to keep different versions, and use "Share" to download JSON or create a share code. After receiving someone else's data, import it into a local save and apply it manually; entering a share code does not directly overwrite the current workspace. See Save and Share.
Next Steps
Read the pages below as needed:
- Environment and Teams: manual / official-template setup, Fiend immunities, and character data sources.
- Rounds and Actions: both sides' timelines, automatic skill selection, and SP / CD checks.
- Fiend Skills: advanced manual editing, targets, and state effects.
- Calculation Settings and Results: optimization targets, GearPicker, Survival Priority, and damage reports.
- Save and Share: local versions, JSON / share codes, and reset scope.
- Working with Formation Templates: the Premium cross-tool workflow.
FAQ
Q. Which should I use, FRC or TRC?
Use TRC if you only want to verify a single turn or a unit ratio; use FRC when you need team rotation, Fiend actions, and state carryover across Rounds. FRC calculation is not limited to Premium users.
Q. Why can't I use Team Settings?
An empty workspace must have at least one Fiend attackable part configured first. In Demo, you can open the team window to inspect it, but the controls for changing the fixed team are locked.
Q. If I already know the character panel, do I still need optimization?
No. You can use custom final stats or apply a panel from the Character Stat Calculator. First confirm that the costume level, skill potentials, bursts, and collection bonuses match your own records, then use that panel to verify the timeline.